
This frontend supports different renderers.
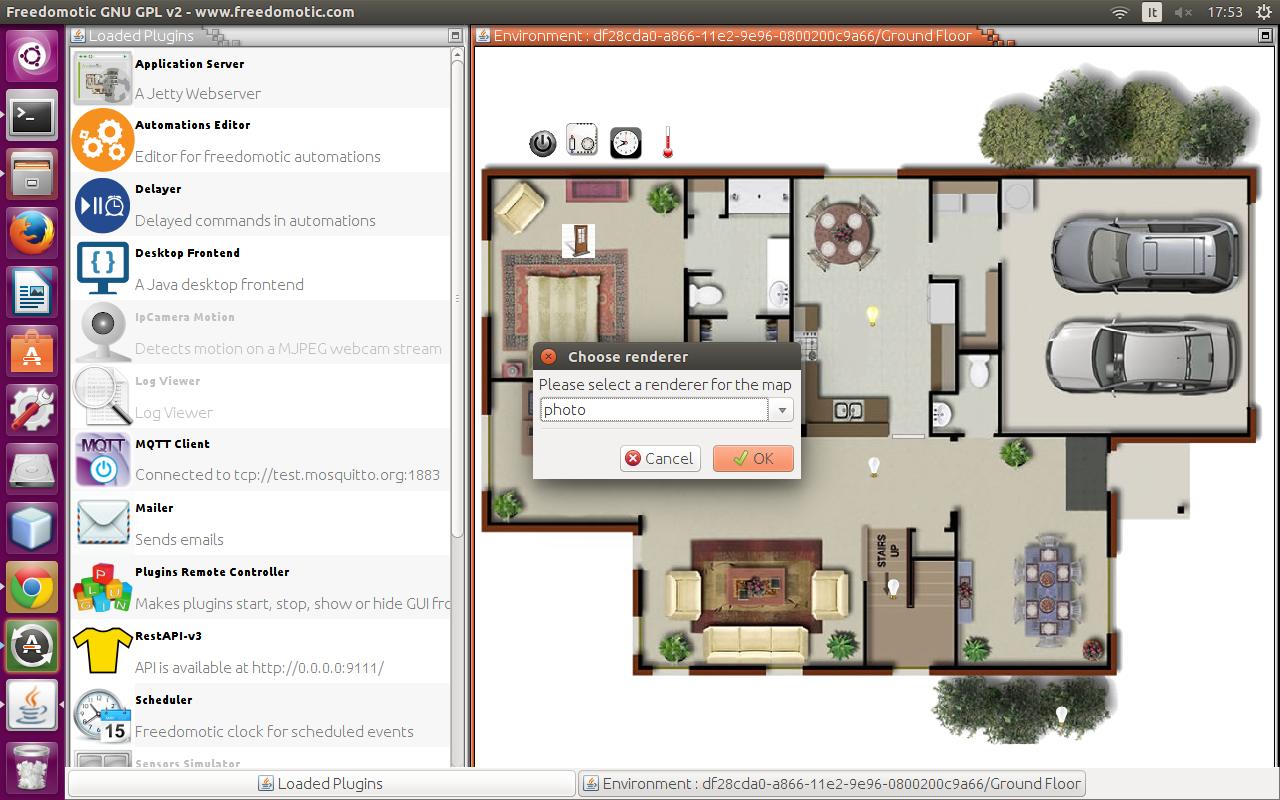
Change renderer
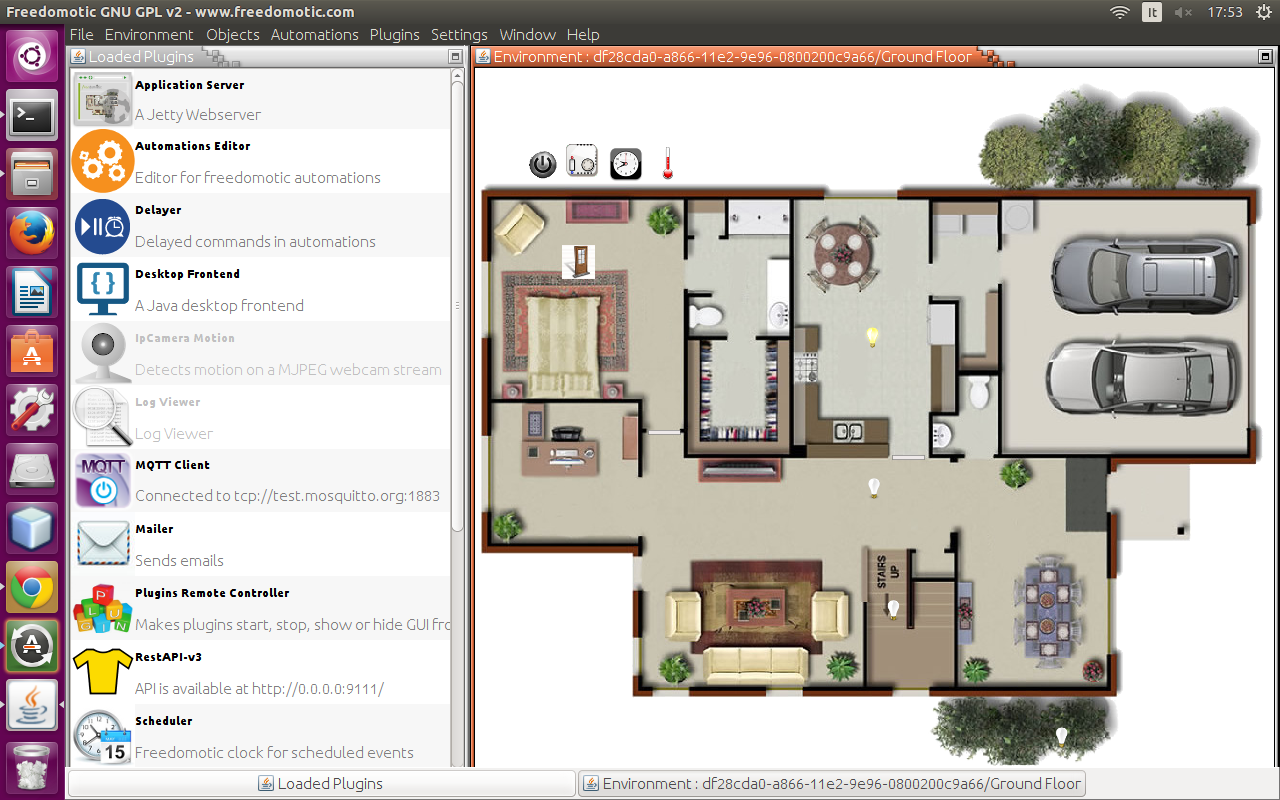
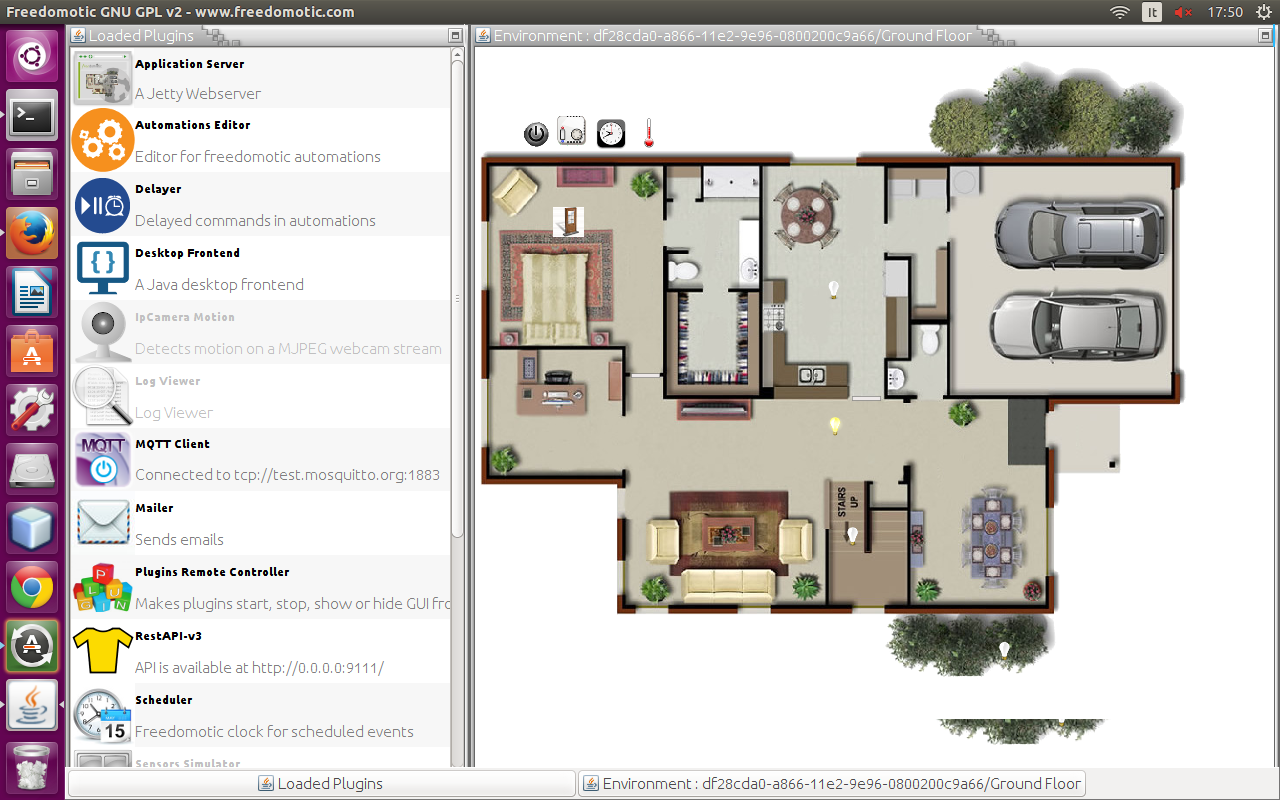
Photo renderer
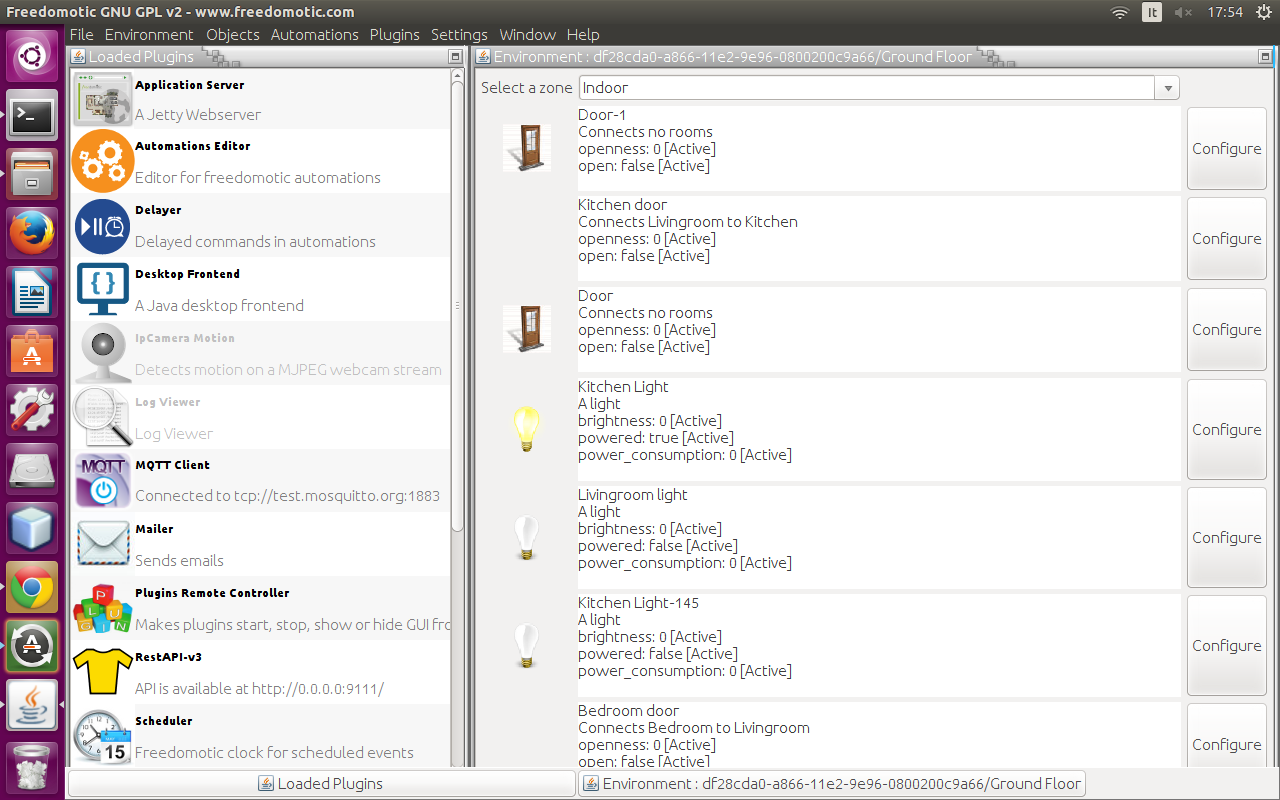
List renderer
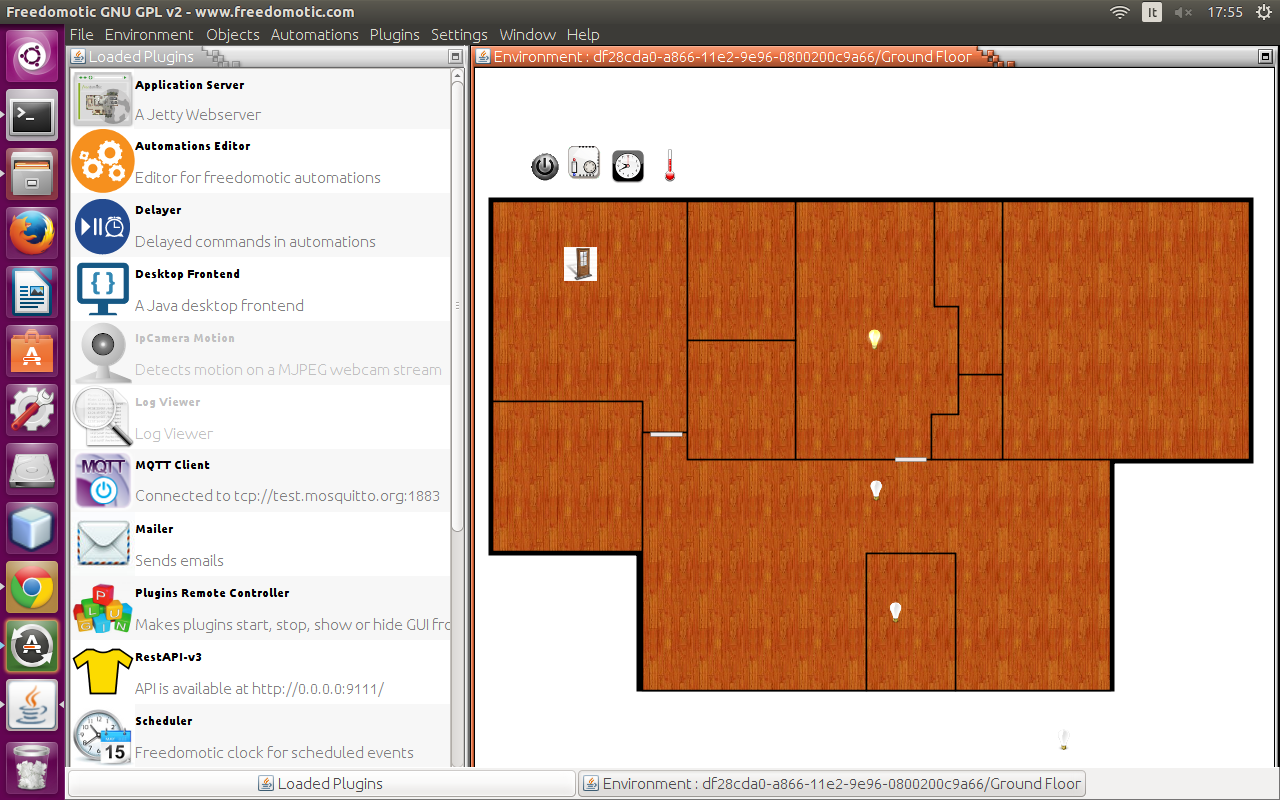
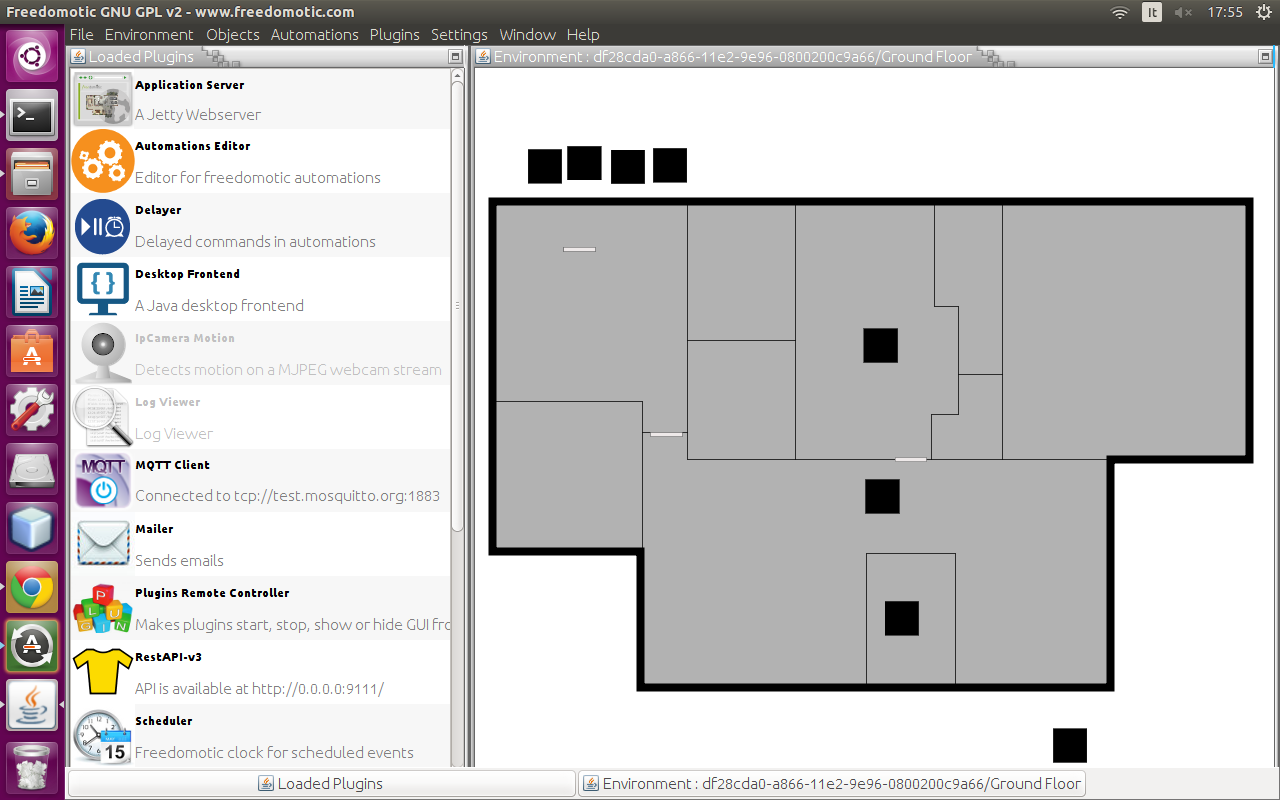
Image renderer
Plain renderer
Click on Edit -> Environment -> Change Background and select a PNG or a JPG file.
To add a new room, click on Edit -> Room Edit Mode (F5) and then Edit -> Environment -> Add Room. A new square polygon will be created on the top left corner of the environment. The blue handles may be dragged to position the room correctly on the map.
To rename a room, click on Edit -> Environment -> Rename Room and enter the new name into the dialog box.
To delete a room, select it by clicking on it, then click on Edit -> Environment -> Remove Room.
To edit the map, simply click on Edit -> Room Edit Mode (F5). Now you can drag around the blue handles, to edit the room’s shape. The measures are in centimeters. When you are satisfied with your changes, disable the edit mode in menu Edit -> Room Edit Mode (F5).
To add new handles, double click on a pre-existent one. To remove any handle, right-click on it.
By clicking Edit -> Objects Edit Mode (F6) furniture may be dragged and dropped around the environment.
Right clicking on a thing will display its configuration dialog.
There are two ways to add things to the map:
A new thing of the same type will be created and placed in the top left corner of the environmnent. To learn how to rename it and move it, read the next paragraph.
Thing icons are stored in FREEDOMOTIC_FOLDER/data/resources. To edit a thing icon (or create a completely new one) first edit (or create) the PNG image used to represent the thing and put it in the previously mentioned location.
Next, the icon must be associated with the thing. To do so right click on a thing and select the Representation tab. Click on Change Image and select the custom image that was placed into the FREEDOMOTIC_FOLDER/data/resources folder.
Every thing behavior (on, off, etc.) can have a different icon to represent itself, so you have to repeat the operation for every representation you want to change. To change the current behavior of a thing, go to the Control tab and use the controls to switch it, then you can change its icon for this behavior, as explaned above.
In Freedomotic things are independent from the hardware used to drive them. For example: a light object is the same in Freedomotic whether it is being controlled by OpenWebNet, Arduino, z-wave, or something else.
First, ensure that the right driver plugin is installed. If not, install it by following the plugin-specific instructions on its marketplace page.
To bind any thing with a specific protocol, you have to right click on the thing to open its configuration dialog. Now go to the Commands tab and bind the thing to generic actions like turn on and turn off with the specific hardware command to execute it. For example a light turn on action can be bound with turn on OpenWebNet (OWN) light command selected from the list on the right.
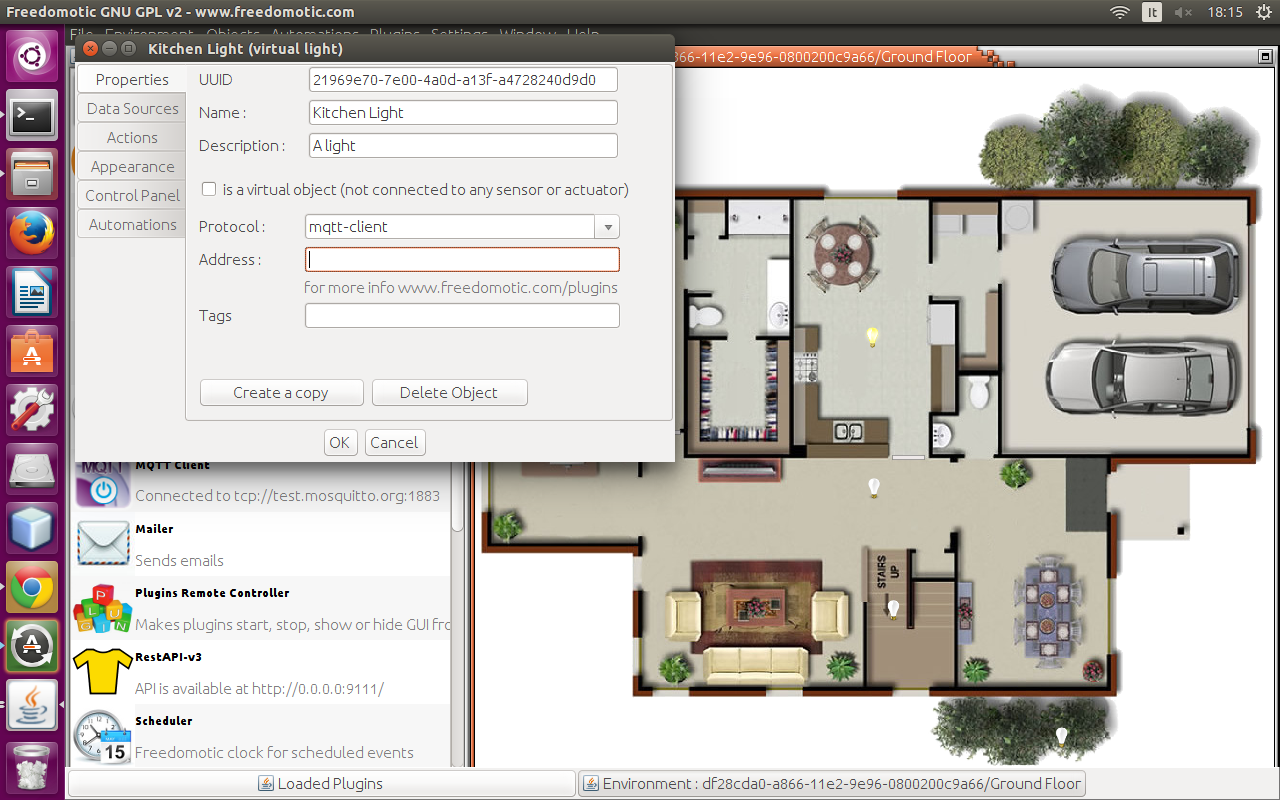
Connect a thing to a real device
Freedomotic can detect your PC configuration and set the correct language.
If it’s not available or you have chosen the default value auto, then the software uses English.
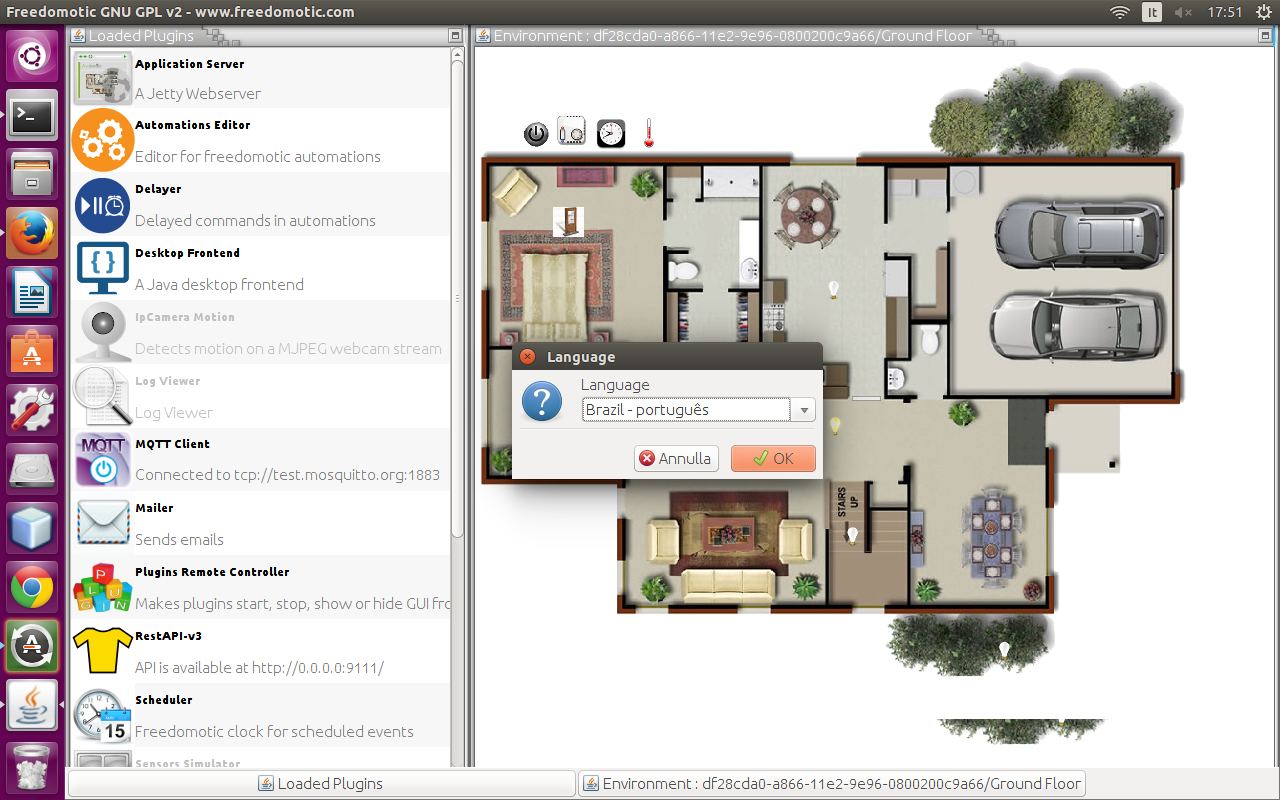
Multilanguage Support
In Freedomotic, automations are more powerful than simple, timed turn on/off of objects. They can be created in nearly any natural language (we are working on it) in the form if this happens, then do that.
To create a new automation, right click on the related thing, switch to Automations Tab and start to write your command into the input box related to the trigger you desire for your command.
For example:
switch its power in the input box corresponding to the trigger if XXX is clicked.The light will now turn on and off when it is clicked.
For timed automations such as Do something every minute, a Clock object is needed. If one is not already on the map, add it by pressing F6 and double clicking on the Clock thing on the list on the left side of the screen.
Right click on the new object, select the automations tab and create the automation in the same manner as the Event Driven Automations (explained above). For example: Switch power for all lights every 5 seconds.
Right click on the clock object and select the Automations tab, or use the automations editor, which lists all available triggers.
Find the trigger every 5 seconds and link it to the command switch power for all lights.
In the Plugins menu click Install from marketplace. After the list is updated (it can take up to a minute) the list of plugins in the markeplace that are available for your current Freedomotic version will be displayed. To install one, double click on it and follow the instructions.

Install plugins from the marketplace
Loaded plugins are visible in the list on the left of the environment map. Running plugins are represented by a coloured icon.
To start a plugin (or to stop an already running plugin), double click on its name. When a plugin is running, the feature it provides is available to the system.
For example the OpenWebNet plugin enables communication with BTicino OpenWebNet (OWN) devices. This means the plugin doesn’t provide automations to drive OWN devices itself but only “translates” the Freedomotic user commands as turn on kitcken light into hardware-level specific commands. This allows you to forget about hardware and internal communication details. Simply say turn on kitchen light, and Freedomotic takes care of the rest.
Plugins list
Some plugins offer a configuration dialog to interact with its features. To view it, right click on the plugin name. For an example, try this on the “Sensors Simulator” plugin, which is a development tool to simulate a temperature and luminosity sensor. You can make this fake sensor notify a temperature change to Freedomotic, by moving the temperature slider.
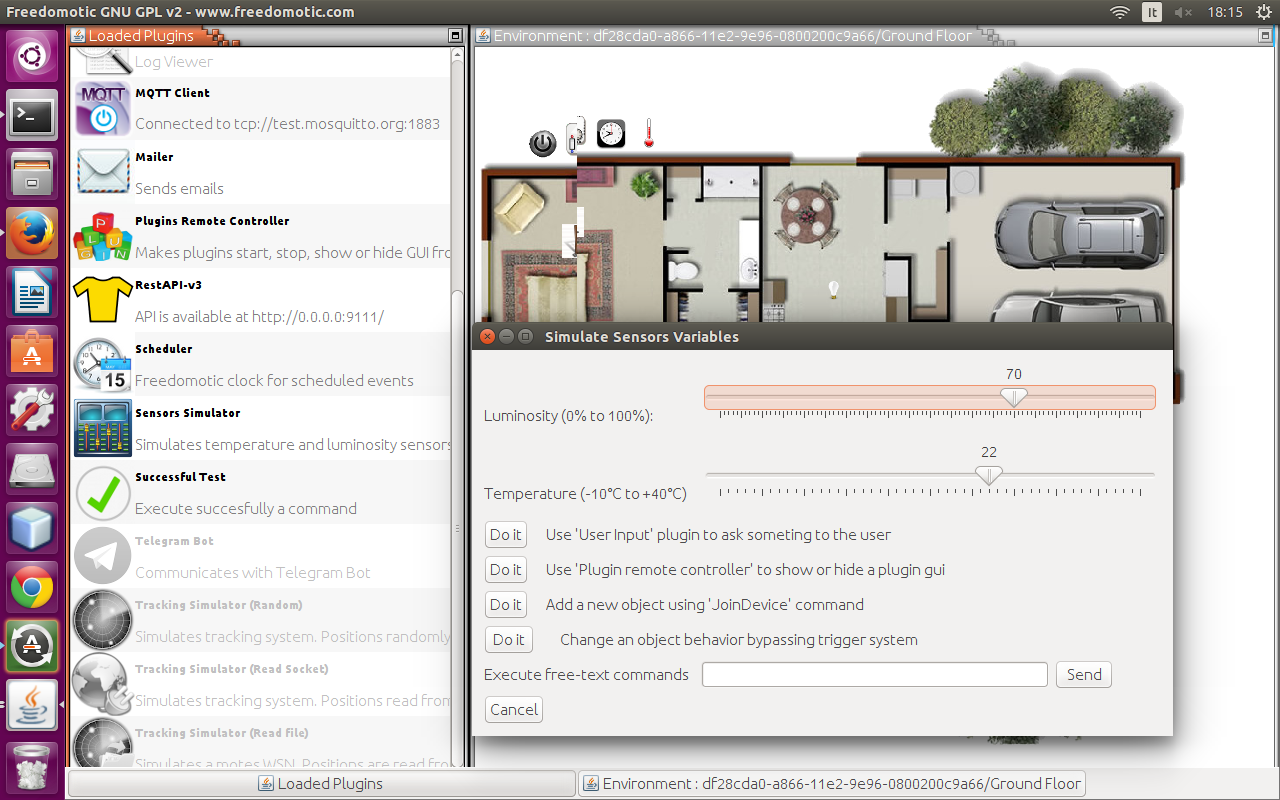
Simulator Plugin
Note
Not all plugins have a configuration dialog, so if you right click and nothing shows, it is because the plugin have no configuration options.